3.01 Actions
Once you’ve followed the Getting Started tutorials and perhaps even built your first Project Plan, you are now ready to build the smarts behind your Resource Management Portal – SKILLS.
There are five components to Drive Lynx’s Skills Portal:
Actions
Skillsets
Certificates
Leave Types
Industry Types
Each of the components results in returns on time investment when assigning resources to your projects.
Let’s get into it!
Creating Actions
Actions are defined as a detailed configuration of a task.
Click on the Menu item: SKILLS then Actions.
Click + NEW in the top right screen options.
Action ID – this is an identifier or name for your Action Code. Note, when Project Managers are creating Projects or when project resources are uploading Ad Hoc tasks from the mobile app or web browser, Action Codes will appear in a selection menu, so you want to make the name as easily recognizable as possible.
Description – more detailed description for the Task.
Allocation Hours – refers to the time it takes to complete the Action. This will be used to update the Project Task.
Inactive – select if you do not want the Action Code to be available for use in the Project Planning Portal.
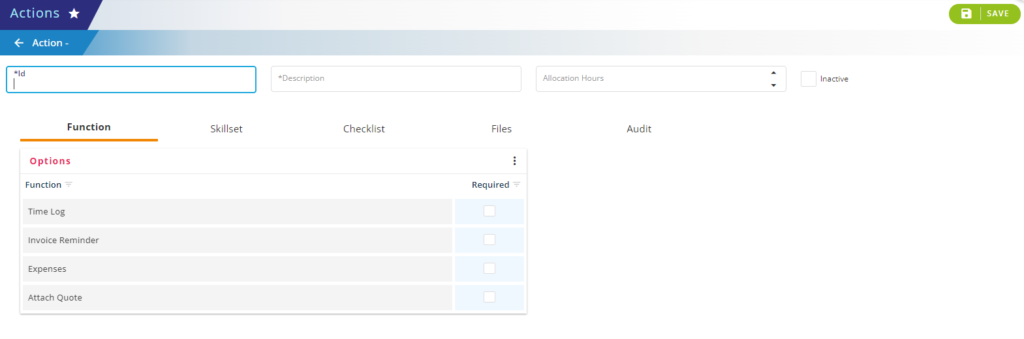
The following additional tabs can be utilized as required:
Function – refers to how you’d like the Task to connect with other Drive Lynx portals.
- Time Log – lets a User allocate time against this Task
- Invoice reminder – lets project resources who are Contractors know that the Task requires an invoice
- Expenses – refer to whether the Task requires external purchases
- Attach Quote – refers to the agreed price allocated for the Task. Note, project resources won’t be able to see the attached Quote unless you (as the Admin) have provided access in their User profile
Skillset – leave this section blank until you have reviewed Tutorial 3.03 Skillset. You can then come back to this section and add any Skillsets required for the Task once the Skillsets have been configured.
Checklist – advise your project resources what equipment and materials are required to complete the Task. Some examples are listed below:
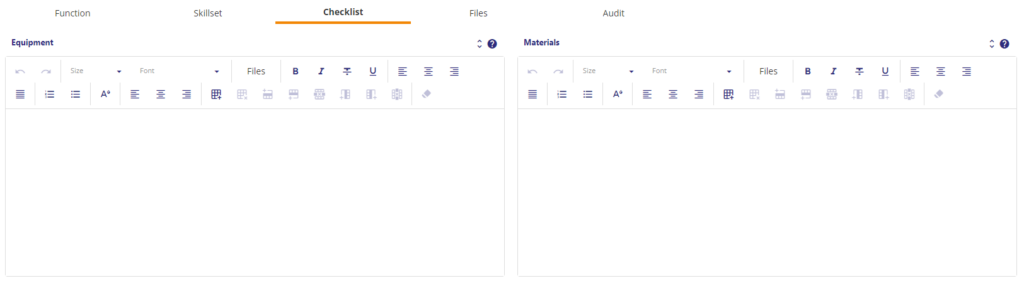
- Equipment – refers to the physical tools required for the Task, such as material handling equipment, crane, skip bin etc.
- Materials – refer to the disposable items or dress code required for the Task, such as a hard hat, steel-capped boots, mask etc.
Files – lets you upload regulatory and compliance information, guidelines, standards or safety policies that relate to the Task.
Audit – lets you review where other Administrators or Project Managers on your Drive Lynx account have made changes or amendments to the Action.
Once completed, click on SAVE to update the Action.
You’ve now completed an Action Code. Continue creating additional Action Codes for every Project Task within your line of business.